Sungreen

This Blog is for my Baja Bug 'SunGreen' that I am rebuilding. see more pics of the BAJA
Don't overlook the archive links, there is a lot that isn't shown

Saturday, October 29, 2005

Side projects

While I'm waiting for parts I wanted to get a few things done so I put the rocker assembly on my heads, cleaned my engine tin really well (you can actually see yourself in it) and then I started a small project I've been meaning to get to; a plexiglas protection for all the open wires behind the dash.
First I made a mock-up of cardboard then spray painted it onto the plexiglas and cut it out using a Dremel with a masonry blade, it worked really well.


For now it is only mounted by one sheet metal screw but I'll do more later. You can just see the outline of the plexiglas.


Because I have a single peice fiberglass front-end, mud and water and all kinds of crap would fly right up behind the dash making a real mess! It hasn't shorted the wiring out yet but I'm sure it would eventually happen, and it's just a good idea anyway. It looks pretty good..

Friday, October 28, 2005

Short block

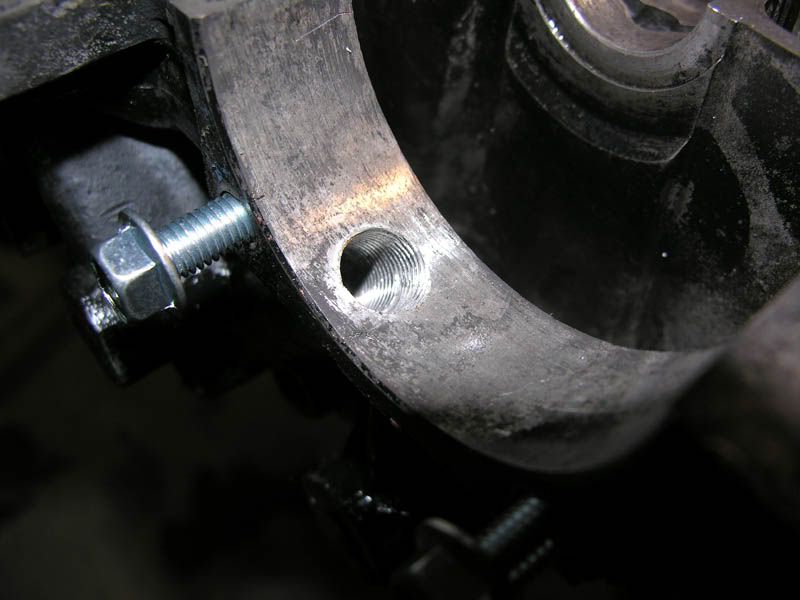
Last night I went back and tore down everything, so first thing this morning I went to NAPA to have the stud Healy-coiled. $35 later my case is ready to start over.
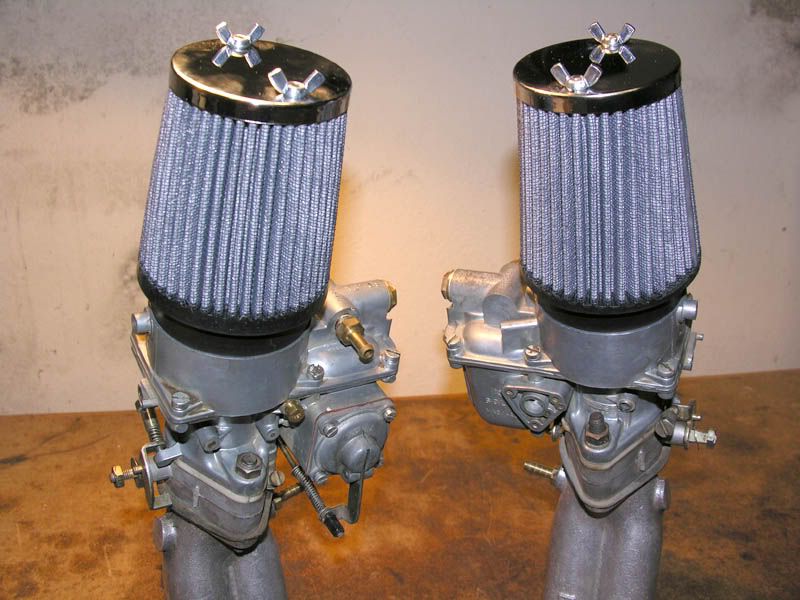
Yesterday I also went to Wessex Motors to ask if they had a distributor drive shaft shim, since I had too much clearance between the shaft and the case. He called me back today and said he had found one in a box of old VW parts and gave it to me. There were a few campters, a Karman Ghia (he said the engine was being rebuilt as a father-son project by a friend, it looked really good), and a little Porsche at Wessex. Its always interesting to see other VW.
I was confused about installing the distributor drive shaft in relation to the distributor gear on the crank and I posted at TheSamba about it and it turns out that it doesn't really matter how it goes in! I spent a good two hours figuring that one out.. but that was yesterday before the stud stripped out.
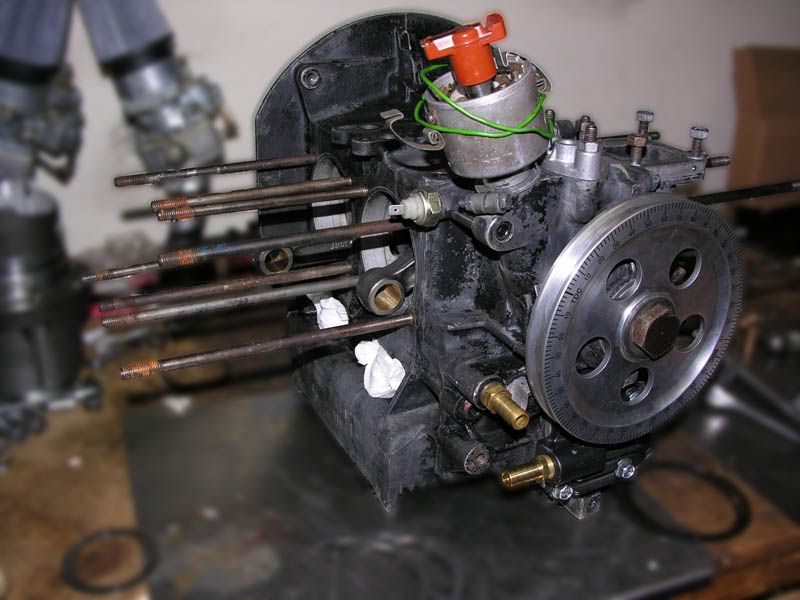
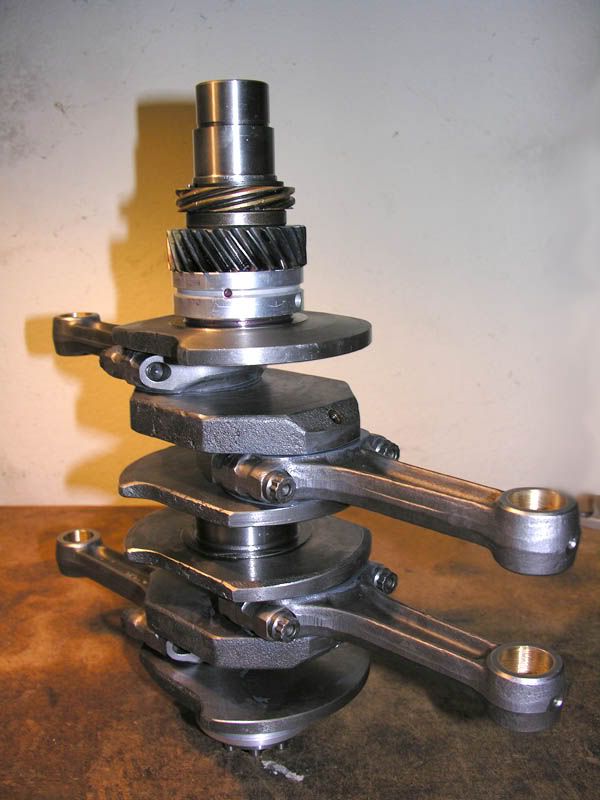
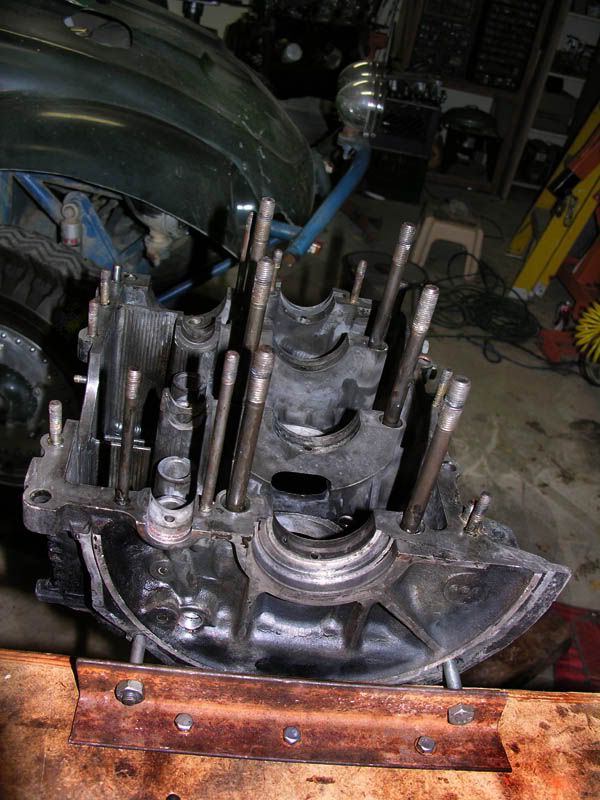
Today, after I cleaned everything out, I began assembly and it took no time at all.. I'm a pro at it now. First the distributor drive shaft, then bearings and crank, then the lifters and cam and then the other half of the case. Everything needs to be really lube'd up and one half of the case needs liquid gasket coated on since there are no case gaskets. By mid-day it was all bolted up and torqued down.
Next was to set the end-play by putting on the fly-wheel, torquing it to 200 foot-pounds and measuring the movement when you push/pull the fly-wheel. When I put all three shims on (.030 of an inch) it was so tight that there was no end-play and the crank wouldn't turn. I left only one shim (.010 of an inch) on this time but the end play was excessive. I put two shims on (.020 of an inch) and, just by eye, the end play seems good. Specifications say that it needs to be between .030-.050 of an inch so I will need to measure how much end play I actually have with a dial-indicator and then add what ever shims I need, meaning I had to order a set of shims.
Next I put the pulley on, then the oil strainer and plate, then the oil pump and the new pump cover made for 'full flow'. It's coming together!
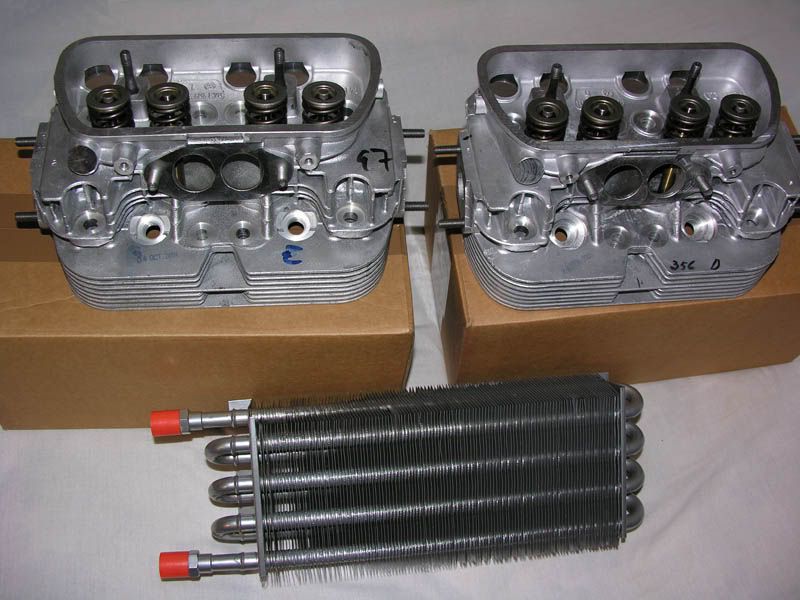
I need to set the deck height by mocking up the piston and cylinder and seeing how much I have so I can add the appropriate shims. I expected that I would have the correct deck height with the shims I was given, but when I mocked it up the piston was flush with the cylinder top meaning I had no deck height. I need a .040 shim under all the cylinders to get the right deck height. A .040" deck height and 53ccs of volume in my heads will give me a compression ratio of 9 to 1. I will need to order the shims so it looks like I have the weekend off.
here is all that I've gotten done today..


Thursday, October 27, 2005

Two steps forward... Ten steps back

Bam! crank in.. Bam! cam in.. Bam! distributor drive gear, lifters, all the bearings and other half of case in!!! Bam! torque all the nuts.. oh... wait a second... one doesn't want to tighten up... oh... wait a second... now the stud feels loose... oh wait a second... I'm pulling the stud out and I see that it stripped the threads on the inside of the case!!!

All I can do is strip down again. Everything comes out of the left side of the case: cam, crank, distributor drive shaft, bearings, and lifters... pretty much everything I spent today putting in... I'll have to drill and tap the case, then I'm back to cleaning it and finally assembling it all together again tomorrow, if I get that far..

Wednesday, October 26, 2005

Parts are IN!!

The parts are in!
Yesterday I had the gears put on my new 74mm crank then cleaned and assembled it with the new Scat I-Beam rods. here it is..


After I got the rods on I clearanced the case for the larger stroke. Then cleaned the case one last time, before assembly, by scrubbing, power-washing then blowing it out with compressed air.

The head CC kit came in and I measured my combustion chambers, but the two heads came out different; one was at 51cc and the other was 53cc. I posted at TheSamba about it and was told to grind out the difference in lesser head. They aren't godly perfect but they turned out well enough. I hope..


I also got my order from LowBugget and put in my new jets and air cleaners.. don't they look awsome?!

Tuesday, October 11, 2005

Kadron Linkage

Stock Kadron linkage is crap. It clips onto a ball-end on the accelerator arm and it falls off often! Especially off-road!! With the extra time I have waiting for my parts I wanted to fix it.
I already had another center-pull linkage with a ball-joint connect to the accelerator arm. It's much better than the clip. But I liked the center-pull design I already had, just not the clips, so I set out to get the ball joints to fit onto my linkage.
The ball joints fit a 1/4-28 fine thread but my rod has a smaller male thread that wouldn't fit, so I cut it off and was left with a .300" hole in the rod that was too big to fit 1/4" and too thin to tap anyway.
I found Hex Coupling nuts, but they only came in 1/4-20 coarse thread and wouldn't fit the ball-joint, but lucky for me I was able to find a 1/4" stud with both fine and coarse threads.
I put the Hex Coupling nut into my drill press chuck and used a file to take it down to .305" so I could press fit the Hex nut in.


Unfortunately the ball-joint wouldn't fit the stock ball-end accelerator arm and it wouldn't just screw out either (I didn't want to ruin it by cutting, just in case...). I was able to make my own accelerator arm from 1/8" mild-steel. I was sure to cut the holes at a very close tolerance so it wouldn't misalign. I also made very sure that the hole for the bolt that holds the ball-joint was exactly the same distance from the axis hole, so that the arms would rotate the same. That step was most important because if one is longer than the other it would open proportionally faster than the other, and no amount of synchronizing your carbs would make them even, except at idle. these are what I made, with the ball-joint..


The clip-on VS. The bolt-on ball-joint (I will press fit the hex nut all the way in after I know the rods aren't too long and need to be cut)..


..And the new linkage on the carb..


LOOKS GOOD!! and MUCH better!!
but when are my parts coming?!?!

Sunday, October 09, 2005

Full Flow

When I first bought my bug, a friend came over and mentioned that I had a 'full flow' oil system. I had no idea how it worked, I only knew that it was better for keeping the engine lube'd. My friend was wrong, I didn't have 'full flow', but the case had already been tapped and ground for 'full flow'.. well.. all except at the oil pump.
Since I already had an adapter flowing oil to a remote filter and cooler I wondered why more people would 'full flow' instead of using the same adaptor. So I posted at TheSamba. Aparrently its just a bad idea.. so why make the adapter? who knows...
So I finished the half-finished 'full flow' job by tapping the oil galley in the case to put a plug in it. here it is..


and then bought the oil-pump cover to redirect the oil to the remote filter and cooler. this is it..


then the oil flows back into the case through an oil relief valve that had already been drilled, tapped and ground for me. All I have to do now is plug my adapter! Easy!

This site explains how to 'full flow' your case.

Friday, October 07, 2005

Still waiting for parts.

Still no parts from Chirco but my stock 043 heads came in today from CB Performance, cut for 90.5 cylinders. They didn't CC the combustion chamber for me so I had to order a head CC kit. Knowing the volume of your chamber is important because it determines the compression ratio, which is important for keeping your engine cool and what gas you can run. I also got my 8-pass external oil cooler. here they are..


I spent today cleaning my case of all the metal chips by pressure blowing them out. Then I 'made' an 'engine stand'.. simple, effective and cheap!! (its a small peice of angle iron with holes drilled in it screwed onto a benchtop). here it is..


My order is being held up by the bearings, otherwise it would have been in a long time ago. grrr.

Saturday, October 01, 2005

....*sigh*

I need new heads..


that hole in the upper left of the chamber, the four others on the same head and the crack running between the valves are why. The crack could have been welded after I sold them and bought new heads, but the holes make it worth nothing. $89 for each head from CB Performance.
If I had known that the only salvagable parts from this engine would be the crankcase and gears I might have made different decisions..
I need to sulk for a while..