I've been slacking on keeping this blog up-to-date, but it's not far behind.
Since the last post a lot of interesting things have happened. First I didn't have enough endplay to fit three shims behind the flywheel, and everyone agrees that it needs three shims. When I posted at
TheSamba Gary from
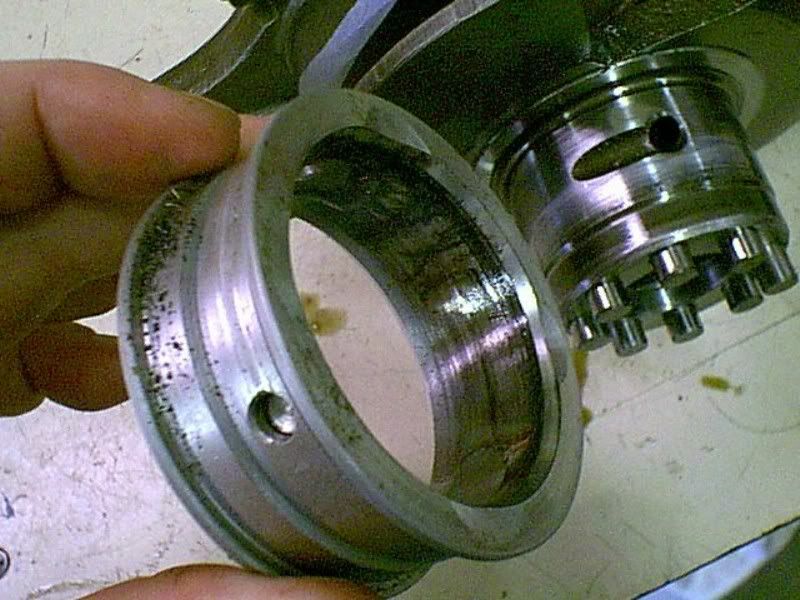
Davis Racing told me that maybe I'm not getting enough clearance because the crank isn't seating against main thrust bearing properly. He sent me a picture of a bearing from an engine with 50 miles on it. This bearing is badly worn!!
I knew he was serious when he told me to call him. He explained to me what the problem might be and I concluded that I should play it safe and check it out, meaning I would crack the case again. So I began the teardown.
When I got down to taking off the cylinder/pistons I realized that I could see the surface where the bearing and crank met by looking through the #3 bore with a flashlight. Everything was OK. whew! I reassembled.
I was left high and dry waiting for an endplay gasket for about a week in which time I did a little studying. My original plan was to run my remote oil cooler from the full-flow pump cover along with the filter, this would mean constant flow through the cooler. After learning the function of the oil-control valve, which stops flow to the stock oil cooler when the oil is cold, I decided to use the adapter I talked about in an earlier post for the oil cooler. One of the reasons that the adapter is a bad idea is that it wouldn't give constant flow to a filter. But thats one small reason among many more important ones. So now my cooler is being supplied by the adapter (where the stock oil cooler would be, and I plan on putting a stock cooler back as soon as I get the cash), and my filter is being supplied by the full-flow pump cover. so... yeah...
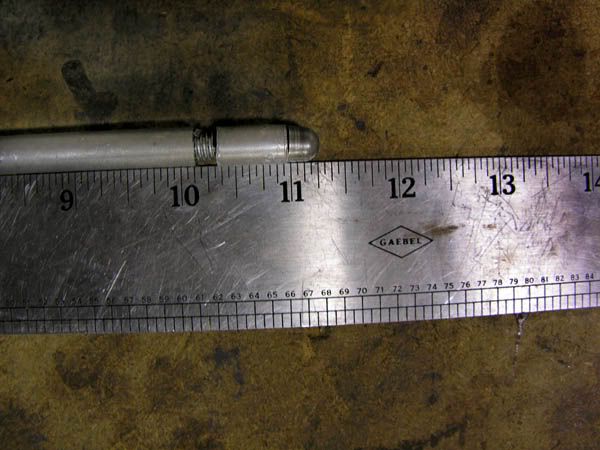
I got the Chromoly Pushrods in and cut them (a little harder than I expected but they turned out well)
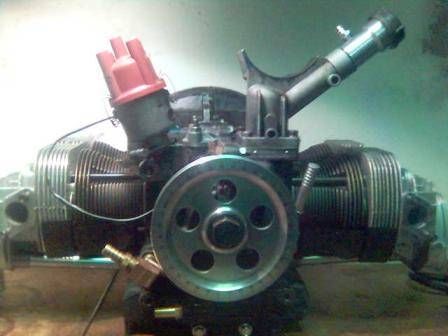
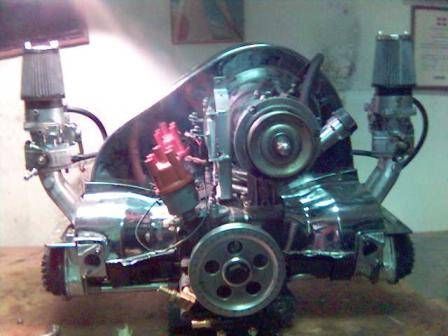
As soon as I got the endplay gaskets in I JAMMED!!! In no time I had the flywheel on and torqued down with the proper endplay, then the clutch and then slapped the engine in the car. Then I adjusted the valves and plumbed the oil lines.
First I primed the engine (got the oil flowing) by turning it over for a little more than a minute by the starter. I did that with the plugs out. So I put the plugs in, wired up the ignition and set the timing to get it to start. I got as far as getting it to back fire, giving my friends a good scare. I was stumped why it wouldn't start. I spent half the day figuring out that I had installed the distributor drive shaft in 180° off. backward. NICE!! and I was so intent on getting it right! since the last builder had done it wrong. anyway, all I needed to do was turn the distributor around. Keep reading, there are two really good stories coming up.
You better believe I was more than ready to get this thing running! Enough to not notice (until the last second) that the ratchet I was using to turn the engine over by hand was still on the pulley nut when my friend tried to start it!! GAAA!!! the ratchet spun then flew off, the pulley nut bent and the alternator strap broke! Gladly no one was hurt! As soon as I got everything back together it was ready to run.
I stood in the back while a friend (Keith Johnson) started up, and immediately brought it up to 2500-3500 RPM. It sounded great! I set the timing to 30°BTDC. When I was trying to start it earlier I took off the air cleaners to shoot some starting fluid in the carb's I replaced the wing nuts so I wouldn't lose them. During the initial 20 minute break in, I noticed that the wing-nuts on the carb' opposite of me were going up and down the threads. I looked down on the carb' in front of me and to my dismay there were no wing-nuts there! looking into the carb' throat I see something shiny on the butterfly valve! I quickly get it out with an extension magnet and it turns out to be one of the wing-nuts!! Where on earth is the other!?!?! DID IT? COULD IT HAVE? IS IT DOWN IN MY HEAD?!?! The engine is still running fine. I turn it off only 10 minutes into break-in. I know that the wing-nut isn't IN the head, because you would hear that kind of thing, but it could be really close to going in. First I check the ground all around me, crawling on my knees. I'm petrified with fear. I put the extension magnet down the carb' manifold.. nothing.. I take a minute to sit in resignation. THERE IT IS!!! it had fallen on the ground and kicked to the corner!! UNBELIEVABLE!!! I quickly put my air cleaners back on and resumed the break-in.
After break-in I changed the oil and adjusted the valves. Then ran it for another ten minutes at 3000 RPM. Stopped it and let it cool a little. then started it up again and adjusted the idle speed. Then I adjusted the air/fuel mixture and re-adjusted the idle. It sounds really good! A few oil leaks at the brass fittings, but nothing Gaskecinch couldn't handle.
Today I fixed one of the oil leaks and replaced the belt with a new one. The little ratchet incident had left the belt a bit stretched and I didn't like it. Then I drove it to get gas (91 octane) and then found a hill to seat the rings. You seat the rings by getting the engine hot; in this case by loading the engine going up a hill a few times. I also tried another approach by getting the RPMs up in third gear then letting off the gas, to let the engine slow the car, this is also supposed to help seat the rings. So far I've got 20 miles on this engine! and it feels great! For a minute while driving down H street, I was distracted from concern for the engine by the overwhelming glee of what I had done, I couldn't have stopped smiling if I had to. It is the accomplishment of my life.